Building my own Monome has been the last of my monthly projects in 2017. It was also the only project that grew horribly out of scope, that's why I'm documenting it almost a month later.
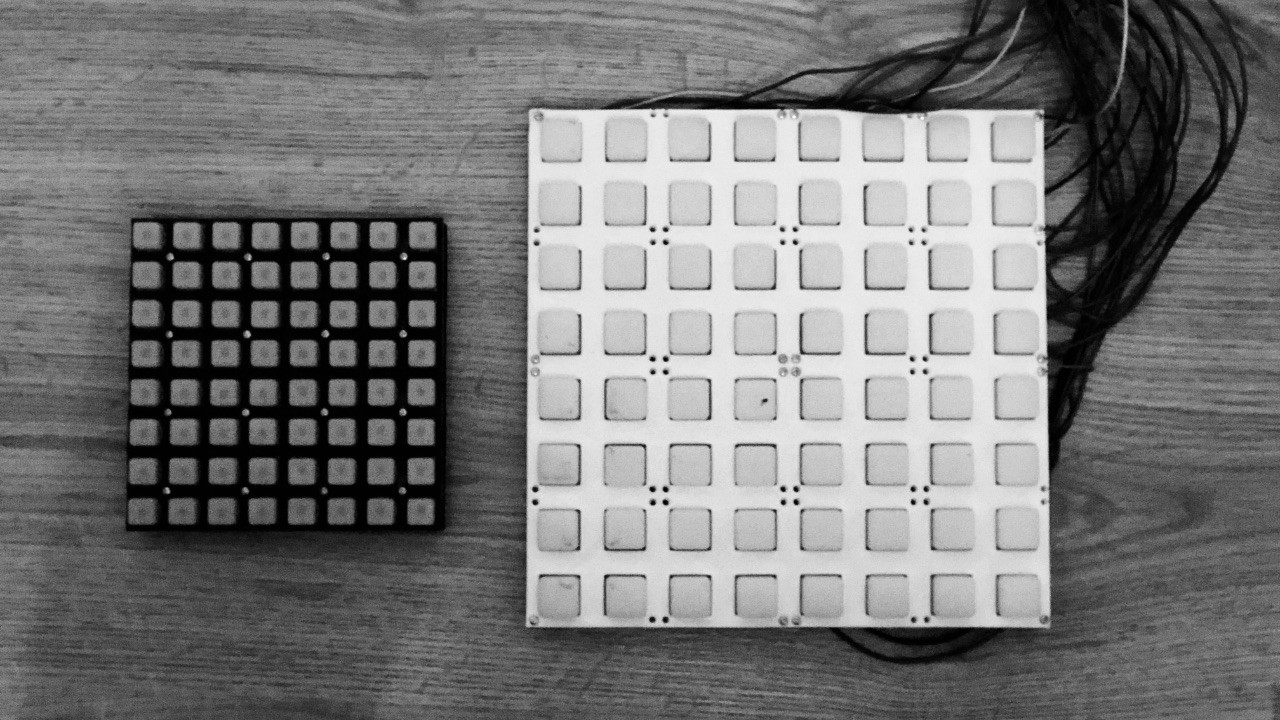
I remember when the first Monome came out around 2007, a simple (and not necessarily new) idea of grid with 64 buttons and 64 LEDs behind them. It was a beautiful little controller, fully programmable, and I dreamed of getting one.
It was around the time when I started experimenting with max/msp and making my own music, but I've never bought one.
Since then, Monome has created a lot of different devices, from Monome companion — arc, to fully programmable DSP computer (aleph), and recently a lot of modular hardware.
For a while Monome was quite popular in music-making scene, and at some point there was an effort around arduinome project, which provided Arduino code and build instructions for building DIY Monomes.
With appearance of Launchpad and other cheap grid-based controllers that project died off.
I kept thinking about getting one of them at some point, and by accident, stumbled upon Sparkfun 4x4 PCB, and later at Adafruid 4x4 PCB and decided to finally build my own.
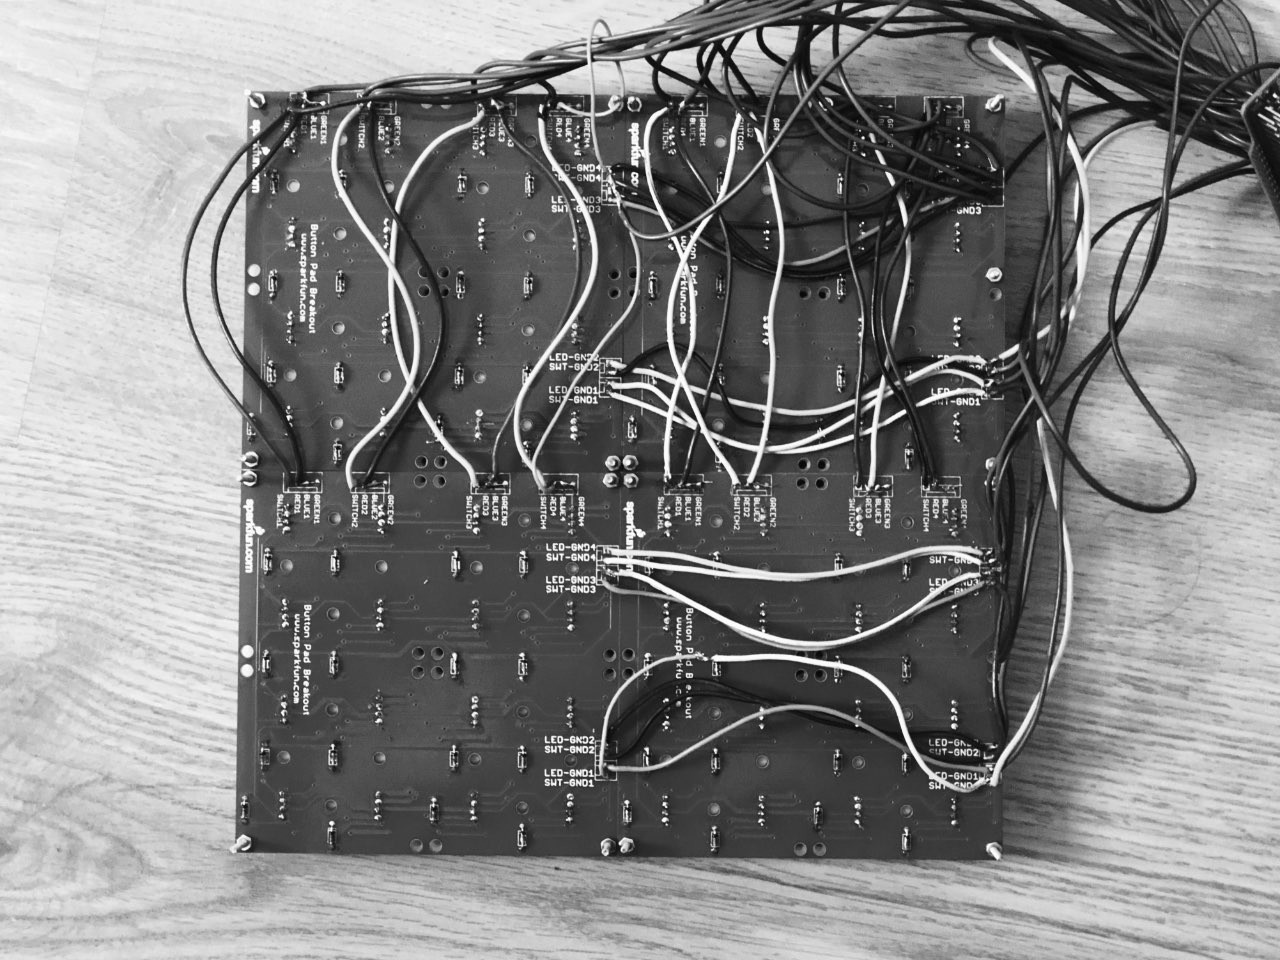
I bought four Sparkfun boards, along with some RGB LEDs and diodes, and started assembling single 4x4 board first. Sparkfun PCBs are build to support scan matrix technique, where each column is queried one by one, reading values of all the rows in that column. If this is done very fast, user has a feeling of near-immediate feedback, and button grid can be driven with relatively few connections. I started by wiring single 4x4 grid, connecting four rows and four columns, testing and rewriting the code provided by Sparkfun.
Next step was connecting four 4x4 grids together to form big 8x8 grid. Unfortunately, Sparkfun didn't prepare the board for this (by, for example, providing paths to wire the boards together like Adafruit does), so I had to do a lot of wiring, and it didn't go too well. I'm pretty sure I could redo it in a much nicer way, but I was rushing to get the prototype working.
Next step was designing, and 3d-printing the case, since the boards were only connected by wires, the whole structure felt very fragile. As the case was a simple rectangle with holes for buttons and screws, I thought it would make sense to design it in code. I already played a with CSG (constructive solid geometry), some time ago while exploring thi.ng clojure libraries, and later while building SDF-UI.
For this project I went with csg.js library combined with three.js for live preview. Rendering required me to figure out how to convert csg.js polygons to three.js geometry:
const geometryFromPolygons = (polygons) => {
  const geometry = new Geometry();

  const getGeometryVertice = (geometry, v) => {
    geometry.vertices.push(new Vector3(v.x, v.y, v.z));
    return geometry.vertices.length - 1;
  };

  for (i = 0; i < polygons.length; i++) {
    let vertices = [];

    for (let j = 0; j < polygons[i].vertices.length; j++) {
      vertices.push(getGeometryVertice(geometry, polygons[i].vertices[j].pos));
    }

    if (vertices[0] === vertices[vertices.length - 1]) {
      vertices.pop();
    }

    for (let j = 2; j < vertices.length; j++) {
      const face = new Face3(
        vertices[0],
        vertices[j - 1],
        vertices[j],
        new Vector3().copy(polygons[i].plane.normal)
      );

      geometry.faces.push(face);
    }
  }

  geometry.computeVertexNormals();
  geometry.computeBoundingBox();

  return geometry;
};
This code basically iterates over all the polygons, adding them to geometry one by one, and remembering the indexes for creating faces. Generating the csg geometries was quite fun, for example, to get the rectangle with button holes, I started with a simple cube:
const genCasing = ({ caseHeight, caseSize }) => {
  return CSG.cube({
    corner1: [0, 0, -caseHeight],
    corner2: [caseSize, caseSize, 0.0],
  });
};
And then cut out the buttons:
let casing = genCasing({
  caseHeight: CASE_HEIGHT,
  caseSize: CASE_SIZE * MONOME_SIZE_MOD,
});

// button holes
let buttons = [];

times(8).forEach((i) =>
  times(8).forEach((j) => {
    const x = i * (BUTTON_SIZE + BUTTON_OFFSET) + BUTTON_CASE_OFFSET;
    const y = j * (BUTTON_SIZE + BUTTON_OFFSET) + BUTTON_CASE_OFFSET;

    const button = CSG.cube({
      corner1: [0, 0, 1],
      corner2: [BUTTON_SIZE, BUTTON_SIZE, -1],
    }).transform(CSG.Matrix4x4.translation([x, y, 0]));

    casing = casing.subtract(button);
  })
);
I also added some debugging information to the preview, so I could see not only the final shape, but also all the "helper" geometries used to cut out things:
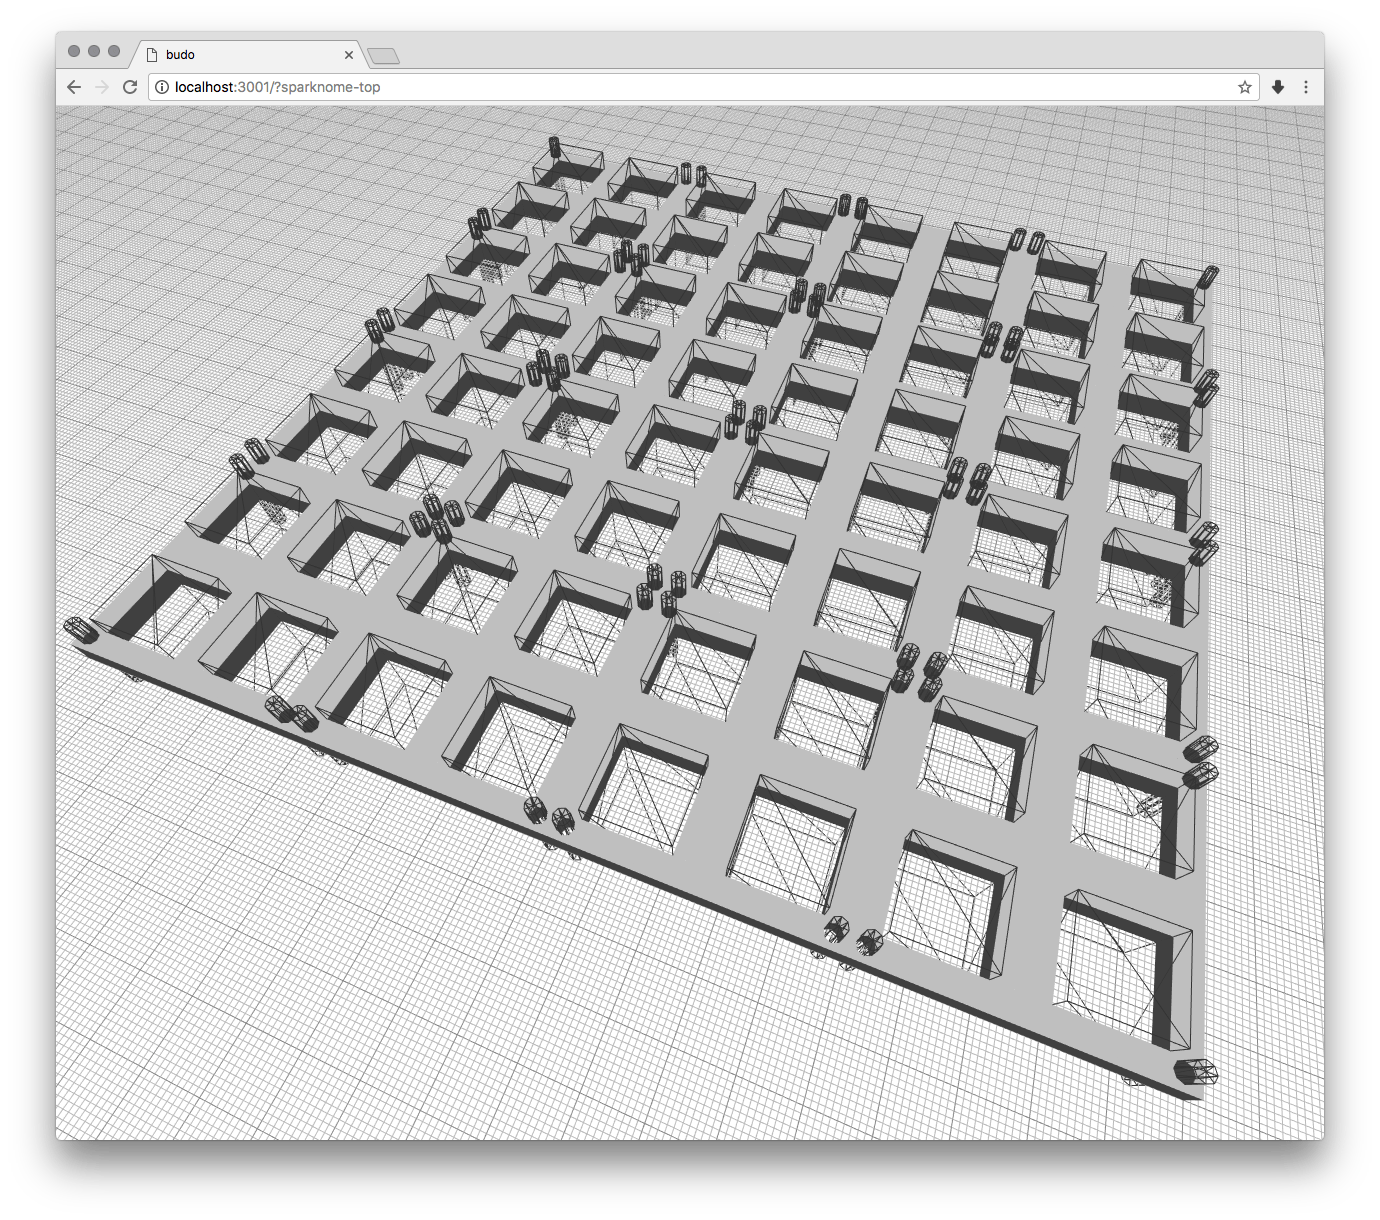
Three.js GridHelpers were very helpful in making sure my measurements were correct.
I was using a ruler to measure the PCB, and then recreating the shapes in 3D.
Once the case model was done, and I got the STL export working, I spent a few days playing with different Ultimakers Cura options to get the print working on my 3D printer. It was quite a challenge since the exported model was 20cm x 20cm — exactly the size of my printers heated bed. The solution was to disable any brim printing, and disable the printer from avoiding zero distance from the rim of the bed.
Next step was to get this thing to talk through serial in a way that serialoscd understands, so it can communicate with hundreds of max/msp patches available online.
Luckily, Monome provides serial reference online: monome.org/docs/serial.txt, and I also found one implementation on github by Mike Barela: Untz_Monome, that I could use as a starting point.
To get serialoscd on my system, I used linux instructions for compiling it by hand, which boils down to git clone, ./waf configure and ./waf install.
serialoscd is also available on homebrew, but I wanted to have access to the source code, so I could debug it while trying to understand what's happening.
I quickly stumbled upon the first bigger issue, as serialoscd recognises the device as Monome based on FTDI name, I had two solutions, either flash my Arduino FTDI eeprom, or hack around this in serialoscd.
I chose the latter, and luckily the change required was single-line update in devices.h:
static monome_devmap_t mapping[] = {
  ...
  /* diy monome */
  {"%d", "mext", {0, 0}, "monome i2c", NO_QUIRKS},
}
This basically recognises any device with some numbers in the name as Monome — this probably would lead to some problems further down the road, but worked for now.
I also had some problems establishing proper "handshake" between Arduino and serialoscd, that I fixed by just increasing the timeout that serialoscd waits for response for the device.
I suspect that official monomes are much faster at processing serial messages than the code I wrote for Arduino.
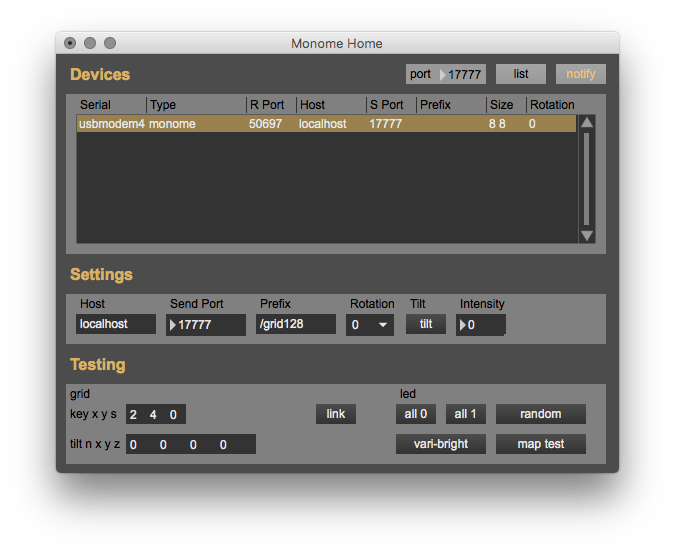
After all of this, I finally got my Sparknome to appear in Monome Home. From there on it was few more hours to get all the messages to properly send both ways, and I had working Monome clone on my hands.
Well, it wasn't working completely, due to my hardware wiring issues, but at that point I already ordered Adafruit based boards, so I decided to build a second one, before deciding if I should work on that wiring.
Soldering Trellinome was much quicker, mainly because there was much less to solder — only the LEDs, and few pins to connect the boards together. The important point was shortening the jumpers at the back of the boards, so they can address properly. For Arduino, I went with much, much smaller Arduino Pro Mini (5V version, since the boards are poweresd by 5V).
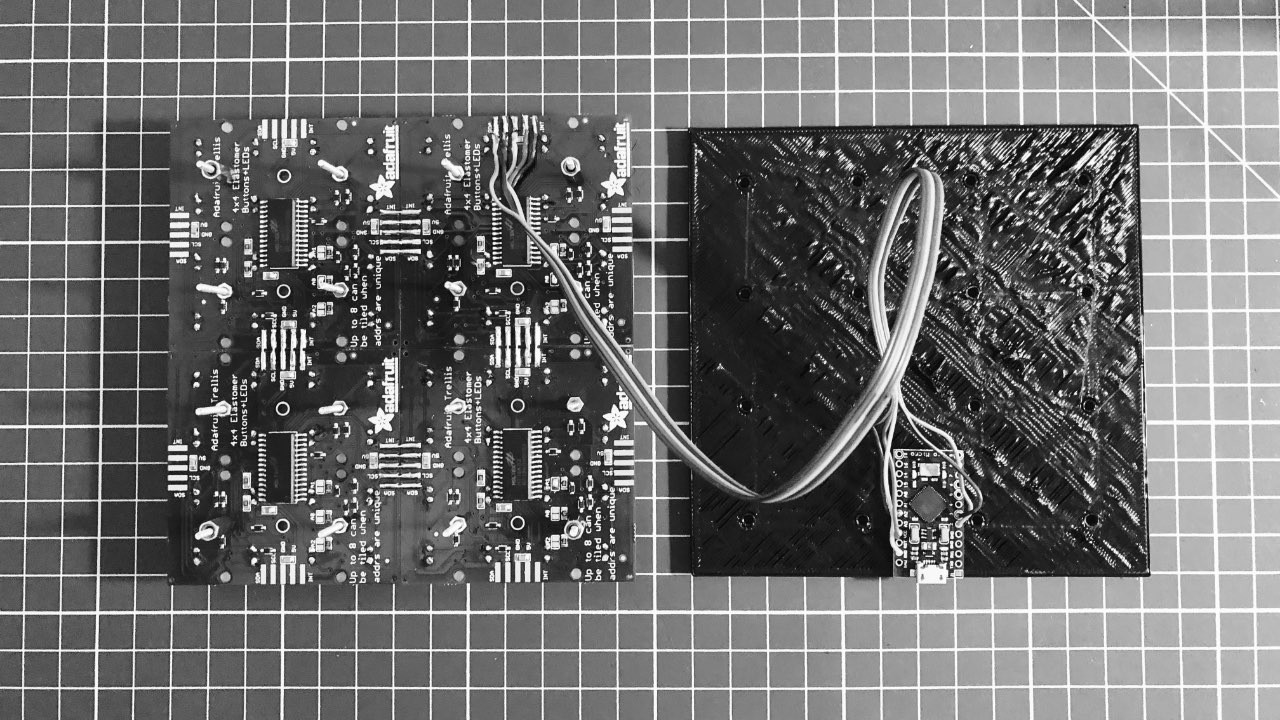
I slightly modified the code for case generation, and printing was also much simpler because Trellinome is smaller compared to Sparknome.
Overall, I had the board ready and seemingly working in just a few evenings of work, but there was one problem I discovered while testing: if some mext-compatible application flood the serial connection, the serialoscd would hang, and stop sending messages to Arduino.
I was pretty sure the Arduino itself wasn't a problem, since key events were still flowing back to the applications, just the display wasn't refreshing.
I spent a few good days trying to debug serialoscd and find the culprint, but in the end I decided to try and write my own replacement.
I went with my familar ecosystem of node, node-serialport and omgosc for this.
After getting basic communication with Monome, I spent quite some time trying to understand all the endpoints that serialoscd supports.
I set up two different scripts that I used to grab all the messages flying between serialoscd and max/msp patch.
I first recorded initial sequence of messages from serialoscd, then re-played them to Monome Home to get next batch of messages, and so on, until I found out what execatly was happening.
I could call this "paused" man-in-the-middle attack, but I really wanted to be able to not only see the messages, but also send different ones to understand the replies.
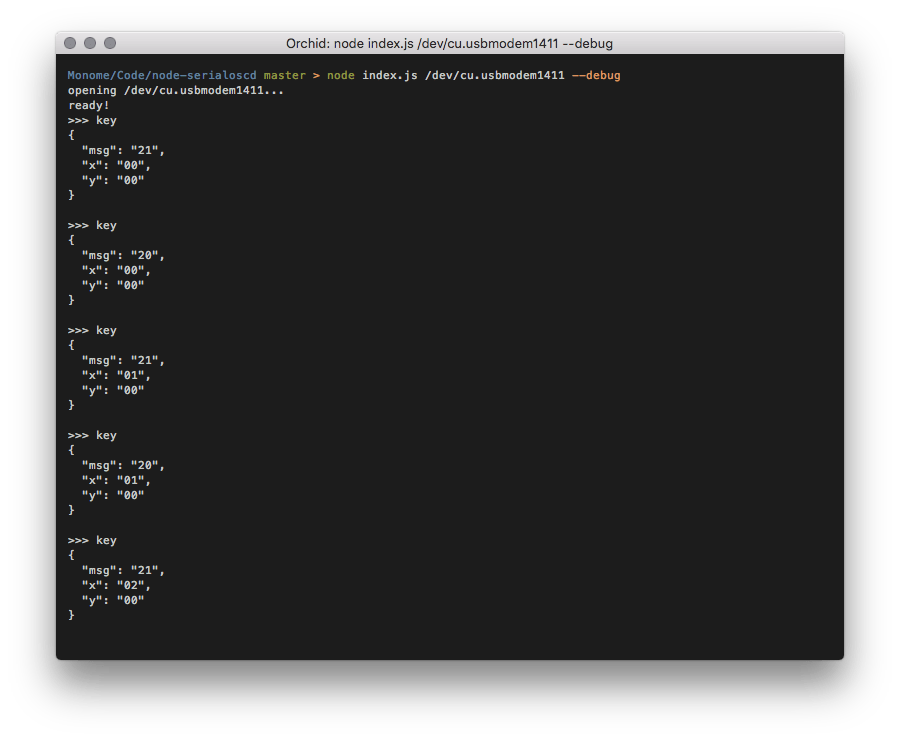
In the end, it took me some time to test my serialoscd implementation with a few different scripts, but I'm happy to say it works with everything that I needed it to, and doesn't hang when flooded with messages.
This project was extremely fun, but also took way more time that I anticipated. I started with the idea of building working prototype in first half of December, and then making some music with it, but that music-making part didn't happen until mid January.
Either way I'm very happy with my final Trellinome, it's really nice to play with, but I suspect it's nowhere near the quality of official Monome hardware.
This project also concludes my one-project-a-month experiment, and I'm moving on to different goals in 2018.
I'm going to write some kind of summary of 2017 at some point in the future, but for now, I plan on taking some time off of writing long blog posts.
As usual, the code is open sourced on github: szymonkaliski/diy-monome.
For other experiments around hardware/software for experimental music check out: Nótt, DIY Monome, and LoopPI.
Nótt contains six independent loops, up to 8 seconds long, including speed control, sublooping, reverse playing, and custom granular mode. It combines my previous hardware looper experiment - LoopPI and my DIY Monome research.